In the last post, I introduced the concepts of Vue.js. Today, we start to code and set up a project. First, we create a root folder named “vblog”.
-
Backend
We use Laravel (here I use the latest version is 5.7)
In the root folder, run command to create a project with “server” is the project name:
Laravel new server (noted: you have to install the Laravel installer first, the document here )

Now we have the folder structure below:
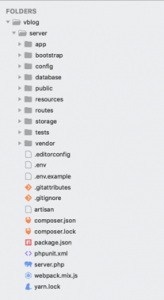
Then in Laravel project, we install some new packages to support API:
Run command: composer require barryvdh/laravel-cors
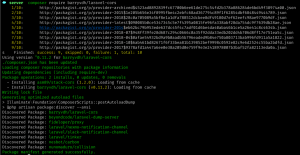
That’s enough for the server now, we will use it later
Now we go to set up the frontend (Vue.js) using Nuxt framework
-
Frontend
In the vblog folder, we create a Nuxt project named “web-app” using yarn
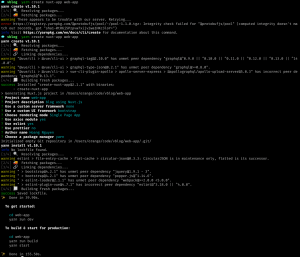
While creating, it will ask you some questions.
Here I choose below answers:
- Project name: web-app
- Project description: blog using Nuxt.js
- Use a custom server framework: none (because we use Laravel as the server)
- Use a custom UI framework: bootstrap (because it’s popular, easy to use)
- Choose rendering mode: Single Page App
- Use axios module: yes (we will use axios to call API)
- Use eslint: yes
- Use prettier: no
- Author name: Huy Hoang
- Choose a package manager: yarn
Now we have the code folder structure like this:

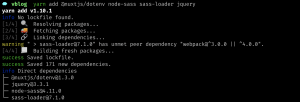
Then in Nuxt project, we install some packages: jquery, node-sass, sass-loader, vue-notification, @nuxtjs/dotenv
Noted: jquery is not suggested using in Vue. But some package required it, so we still need to install jquery. But we will not use jquery in our code.
Now we try to run the project in a web browser.
Start server by running the command: yarn run dev then open URL http://localhost:3000/ in Chrome
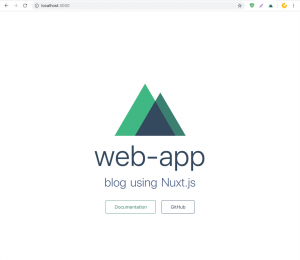
We’ve finished setting up the project with Laravel as backend and Nuxt.js as frontend.
In the next post, we will build our web layout and custom the loading effect automation whenever URL router change, and add custom notification. Stay tuned!
